Satisfy your sweet tooth with these delightful raspberry white chocolate scones! They are flaky, tender, and bursting with juicy raspberries and creamy white chocolate chips. No need to feel intimidated—I’ll guide you through every simple step. Plus, I’ll share tips for perfecting your scones and fun variations to try. Grab your apron and let’s create a treat that everyone will love!
Why I Love This Recipe
- Delicious Flavor Combo: The tartness of fresh raspberries perfectly balances the sweetness of white chocolate, creating a delightful flavor experience.
- Quick and Easy: This scone recipe is straightforward and can be whipped up in just 35 minutes, making it perfect for a quick breakfast or afternoon snack.
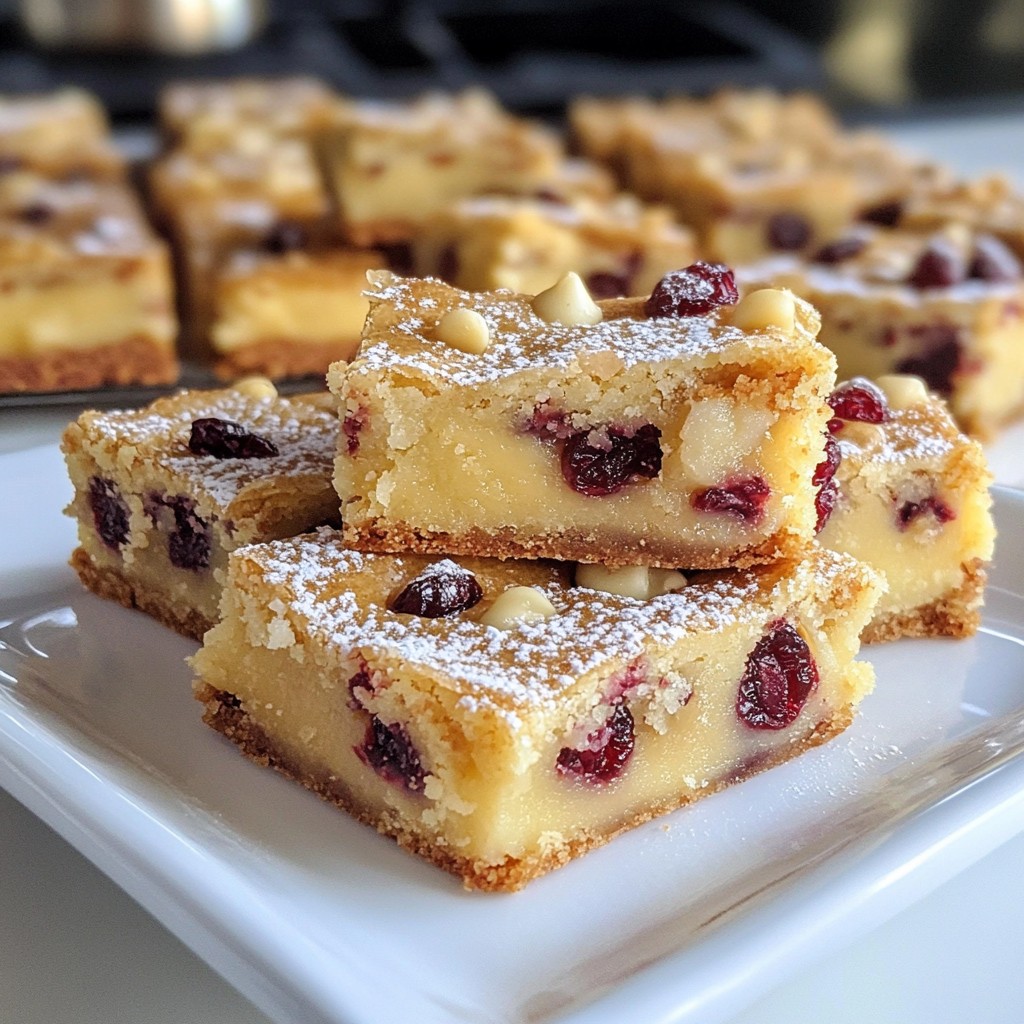
- Beautiful Presentation: With their golden tops and vibrant raspberry pieces, these scones are not only tasty but also visually appealing, great for impressing guests.
- Versatile Treat: These scones can be enjoyed warm or at room temperature and pair wonderfully with tea or coffee, making them a versatile addition to any occasion.
Ingredients
List of Essential Ingredients
– 2 cups all-purpose flour
– 1/4 cup granulated sugar
– 1 tablespoon baking powder
– 1/2 teaspoon baking soda
– 1/2 teaspoon salt
– 1/2 cup unsalted butter, chilled and cut into small cubes
– 3/4 cup heavy cream
– 1 large egg
– 1 teaspoon vanilla extract
– 1/2 cup fresh raspberries, gently rinsed and dried
– 1/2 cup white chocolate chips
The foundation of these scones starts with all-purpose flour, which gives them structure. Granulated sugar adds a touch of sweetness, while baking powder and baking soda help them rise. The salt enhances the flavors, balancing the sweetness.
Chilled unsalted butter is crucial. It creates that flaky texture we love. Heavy cream, an egg, and vanilla extract add moisture and richness to the dough. Fresh raspberries burst with flavor, and white chocolate chips bring creaminess. Together, they make a delightful treat.
Optional Ingredients for Extra Flavor
– Additional granulated sugar for topping
– Clotted cream or whipped cream for serving
For a little extra sweetness, sprinkle more granulated sugar on top before baking. This adds a lovely crunch. You can serve the scones with clotted cream or whipped cream. Both options create a rich, indulgent experience. Enjoy your baking!

Step-by-Step Instructions
Prepping the Oven and Baking Sheet
First, you need to preheat your oven to 400°F (200°C). This helps the scones bake evenly. Next, line a baking sheet with parchment paper. This keeps the scones from sticking and makes cleanup easy.
Combining Dry Ingredients
In a large mixing bowl, combine 2 cups of all-purpose flour, 1/4 cup of granulated sugar, 1 tablespoon of baking powder, 1/2 teaspoon of baking soda, and 1/2 teaspoon of salt. Whisk them together well. This step adds air and makes your scones light.
Incorporating Butter
Take 1/2 cup of cold, cubed unsalted butter and add it to the dry mix. Use your fingertips or a pastry cutter to mix the butter into the flour. Stop when the mixture looks like coarse crumbs. Some small pea-sized pieces should remain. This adds flakiness.
Mixing Wet Ingredients
In a separate bowl, whisk together 3/4 cup of heavy cream, 1 large egg, and 1 teaspoon of vanilla extract. Make sure this mixture is smooth. It gives moisture and flavor to your scones.
Forming the Dough
Now, pour the wet mix into the dry ingredients. Use a spatula to gently fold them together. Mix until just combined. Be careful not to overwork the dough. This keeps the scones tender. Next, gently fold in 1/2 cup of fresh raspberries and 1/2 cup of white chocolate chips. Make sure they are evenly spread without breaking the raspberries.
Shaping and Baking the Scones
Transfer the dough onto a lightly floured surface. Pat it into a disk about 1 inch thick. Cut the dough into 8 equal triangles, or use a round cutter for a classic shape. Place the cut scones on your prepared baking sheet, leaving about an inch of space between each. Brush the tops with a little more heavy cream. If you like, sprinkle some extra sugar on top for sweetness. Bake for 15 to 18 minutes. You want them lightly golden brown. A toothpick should come out clean when inserted. After baking, let the scones cool slightly on a wire rack for the best texture.
Tips & Tricks
Best Practices for Flaky Scones
To get the best texture, use cold butter. Cold butter helps create those lovely flaky layers. When mixing, don’t overmix the dough. Just combine the ingredients until they are just mixed. Too much mixing makes the scones tough.
Ensuring Even Baking
Space the scones about one inch apart on the baking sheet. This allows heat to flow evenly around each scone. Use parchment paper to line the baking sheet. It prevents sticking and helps with even baking.
Serving Suggestions for Maximum Enjoyment
Serve your warm scones on a nice platter. This showcases their golden tops. Add fresh raspberries on the side for color. You can sprinkle a little powdered sugar on top for a sweet touch. Pair them with clotted cream or whipped cream for a rich treat. A cup of tea or coffee makes a perfect drink with these scones.
Pro Tips
- Keep the Butter Cold: Using cold butter is crucial for achieving flaky scones. Make sure to chill your butter before cutting it into the flour mixture.
- Don’t Overmix: When combining the wet and dry ingredients, mix just until incorporated. Overmixing can lead to tough scones; a light hand is key!
- Use Fresh Raspberries: Fresh raspberries not only add flavor but also moisture. Gently fold them into the dough to keep them intact and prevent color bleeding.
- Brush for Shine: Brushing the tops of the scones with heavy cream before baking gives them a beautiful golden color and adds a hint of richness.
Variations
Flavor Adjustments
You can change the flavor of your scones easily. Adding nuts, like chopped walnuts or pecans, gives a nice crunch. You can also mix in other fruits, such as blueberries or strawberries, for a twist. If you prefer a different chocolate taste, try using dark chocolate or milk chocolate instead of white. Each choice brings a new vibe to your scones.
Healthier Alternatives
For a healthier option, swap all-purpose flour with whole wheat flour. This adds fiber and nutrients. You can also use alternative sweeteners, like honey or maple syrup, instead of granulated sugar. These changes still keep the scones tasty while making them a bit better for you.
Seasonal Variations
You can also switch up the fruit based on the season. In spring, fresh strawberries work great. Summer brings juicy peaches, while fall is perfect for apples or cranberries. Each fruit adds its own flavor and charm to the scones, keeping your baking fresh and exciting.
Storage Info
Storing Leftover Scones
To keep your scones fresh, place them in an airtight container. This helps avoid moisture loss. You can also wrap them in plastic wrap for extra protection. Store them at room temperature for up to two days. If you want to keep them longer, consider freezing.
Freezing Scones
You can freeze scones before or after baking. To freeze them before baking, cut the dough into triangles. Place them on a baking sheet and freeze until firm. Then, transfer them to a freezer bag. Label the bag with the date. For baked scones, let them cool completely. Wrap them in plastic wrap and place them in a freezer bag. They will stay good for up to three months.
Reheating Tips
To reheat scones, use the oven for the best texture. Preheat the oven to 350°F (175°C). Place the scones on a baking sheet. Heat for about 10 minutes. You can also microwave them, but this may make them soft. If you choose the microwave, heat them for about 15-20 seconds. Enjoy your scones warm for the best taste!
FAQs
How do you prevent scones from being dry?
To keep scones moist, always use cold butter. Cold butter helps create layers. Don’t overmix the dough; just combine until it’s barely mixed. This keeps scones flaky. Adding heavy cream also adds moisture. You can sprinkle a bit of sugar on top for extra flavor too.
Can you make the dough ahead of time?
Yes, you can make the dough ahead. Wrap it tightly in plastic wrap. Store it in the fridge for up to 24 hours. When ready to bake, just cut and shape it. You may need to add a few extra minutes to baking time.
What can I use if I don’t have heavy cream?
If you don’t have heavy cream, use milk with butter. Mix 1/4 cup of melted butter with 3/4 cup of milk. You can also use half-and-half or coconut cream. These can still give a nice texture to your scones.
How do you know when the scones are done?
Scones are done when they turn golden brown. Insert a toothpick in the center. If it comes out clean, they are ready. You can also gently press the top; it should feel firm.
Can I use frozen raspberries in this recipe?
Yes, you can use frozen raspberries. Just add them directly to the dough without thawing. This helps maintain their shape during mixing. However, expect a slightly different texture. The scones may turn a bit pink from the raspberries.
In this post, we explored the essential ingredients for perfect scones, like flour, sugar, and raspberries. I shared step-by-step instructions to guide you through baking. Tips for flaky scones and variations ensure your treats stay exciting. Proper storage and reheating will keep your scones fresh.
With these tools, you can bake delightful scones anytime. Enjoy experimenting with flavors and sharing your creations! Happy bakin