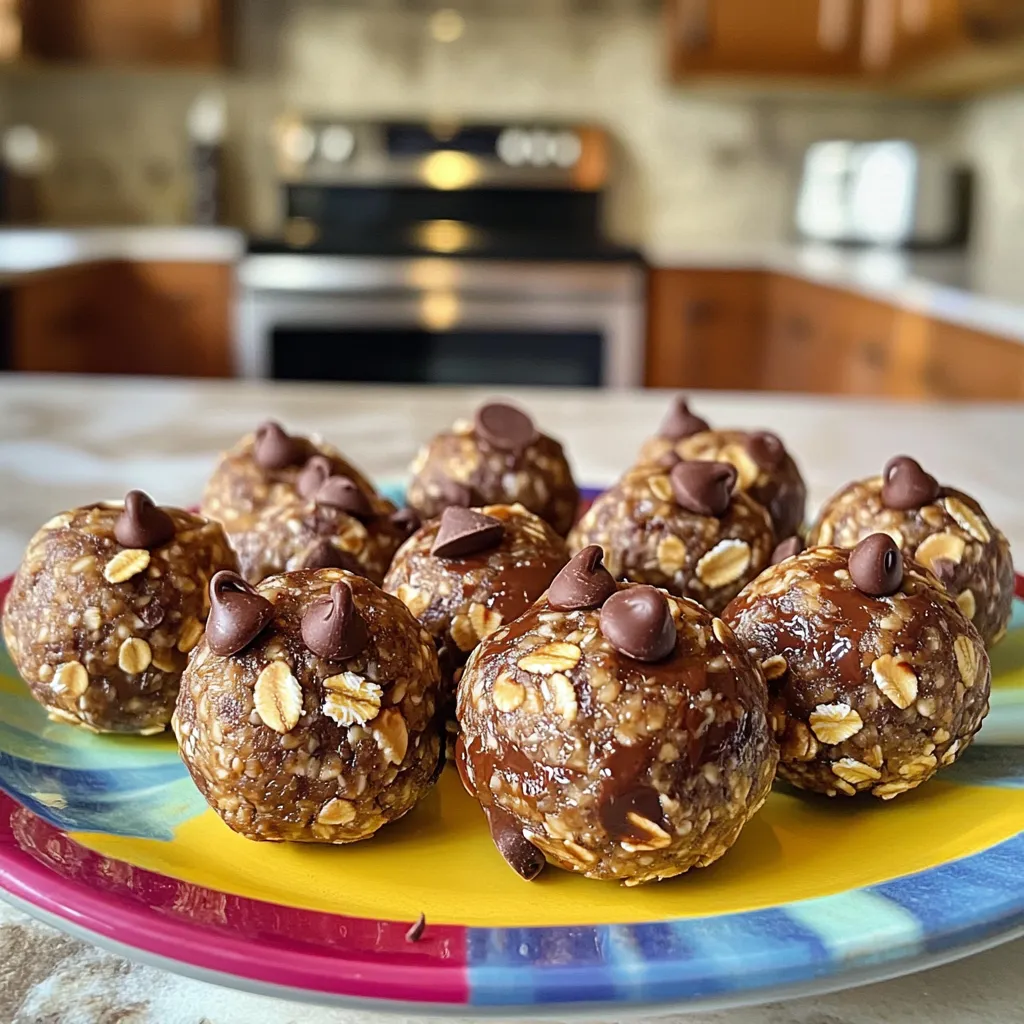
Are you looking for a quick, tasty snack that fuels your day? Look no further! These No Bake Peanut Butter Cup Energy Balls are super easy to make and offer a perfect blend of flavors. With simple ingredients like rolled oats, peanut butter, and chocolate chips, you’ll whip up a healthy treat in no time. Let me show you how to create these delicious bites that satisfy your sweet tooth and keep you energized!
Ingredients
Rolled Oats
Rolled oats are your main base. They add fiber and help keep you full. I always use old-fashioned rolled oats for the best texture. Quick oats can work, but they may make your energy balls too soft.
Peanut Butter (Natural Options)
Natural peanut butter is key here. It has no added sugar or oils. You can choose smooth or crunchy peanut butter based on what you like. Both options taste great! You can also swap it for almond or cashew butter if you want a change.
Sweetener Choices (Honey vs. Maple Syrup)
You have two sweetener options: honey or maple syrup. Honey gives a nice, rich flavor. Maple syrup is perfect for a vegan choice. Both will help bind the ingredients. Use the same amount of either, so it’s easy to switch.
Chocolate Chips (Semi-sweet vs. Dark)
For chocolate chips, you can use semi-sweet or dark. Semi-sweet is classic and sweet. Dark chocolate adds a richer taste and more cocoa. I love mixing both for a fun twist. Just be sure they are mini chips for easy mixing.
Cocoa Powder and Vanilla Extract
Cocoa powder adds a deep chocolate flavor. Use unsweetened cocoa powder for the best taste. Vanilla extract enhances the overall flavor, making it richer. Both ingredients are important for that classic peanut butter cup taste.
Sea Salt
A pinch of sea salt balances the sweetness. It enhances all the flavors in your energy balls. Don’t skip it! Just a little salt goes a long way in making the taste pop.
Step-by-Step Instructions
Mixing Dry Ingredients
First, grab a medium bowl. Add 1 cup of rolled oats. Next, add 2 tablespoons of unsweetened cocoa powder. Finally, sprinkle in a pinch of sea salt. Use a wooden spoon to stir until mixed well. This mix sets the base for your energy balls.
Preparing the Wet Mixture
In another bowl, combine ½ cup of natural peanut butter. If you prefer it sweet, add ¼ cup of honey or maple syrup. Then, pour in 1 teaspoon of pure vanilla extract. Mix this well until it’s smooth and creamy. Make sure there are no lumps left. This mix adds the rich flavor.
Combining Both Mixtures
Slowly add the wet mixture to the dry ingredients. Use a spatula or wooden spoon to stir. You want to mix until the dry and wet parts are fully blended. The dough will be sticky, which is perfect for rolling.
Folding in Chocolate Chips
Gently fold in ¼ cup of chocolate chips. You can use semi-sweet or dark, based on your taste. Make sure the chips are spread throughout the mixture. This will give your energy balls a sweet surprise.
Shaping the Energy Balls
Now it’s time to shape the mixture. Scoop out about 1 tablespoon of the dough. Using your hands, roll it into a ball about 1 inch wide. Repeat this process until you have rolled all the mixture into balls.
Refrigeration for Firmness
Place the energy balls on a parchment-lined baking sheet or plate. Make sure they are spaced out to avoid sticking together. Refrigerate them for at least 30 minutes. This will help them hold their shape when you serve them. Enjoy your tasty, no-bake treats!
Tips & Tricks
How to Perfect the Texture
To make these energy balls just right, focus on the mix. The oats should blend well with the wet ingredients. If the mixture feels dry, add a bit more peanut butter or honey. If it’s too wet, add a few more oats. The goal is a sticky but manageable dough that holds its shape without crumbling.
Best Substitutions for Allergies
If you’re dealing with allergies, don’t worry. You can swap peanut butter for almond or sunflower seed butter. Use gluten-free oats if you need to avoid gluten. For sweeteners, agave syrup also works well. Always read labels to ensure your substitutes are safe for your needs.
Vegan Variations
To keep this recipe vegan, simply use maple syrup instead of honey. This small change makes a big difference. Also, check that your chocolate chips are dairy-free. Many brands offer great vegan options that taste amazing.
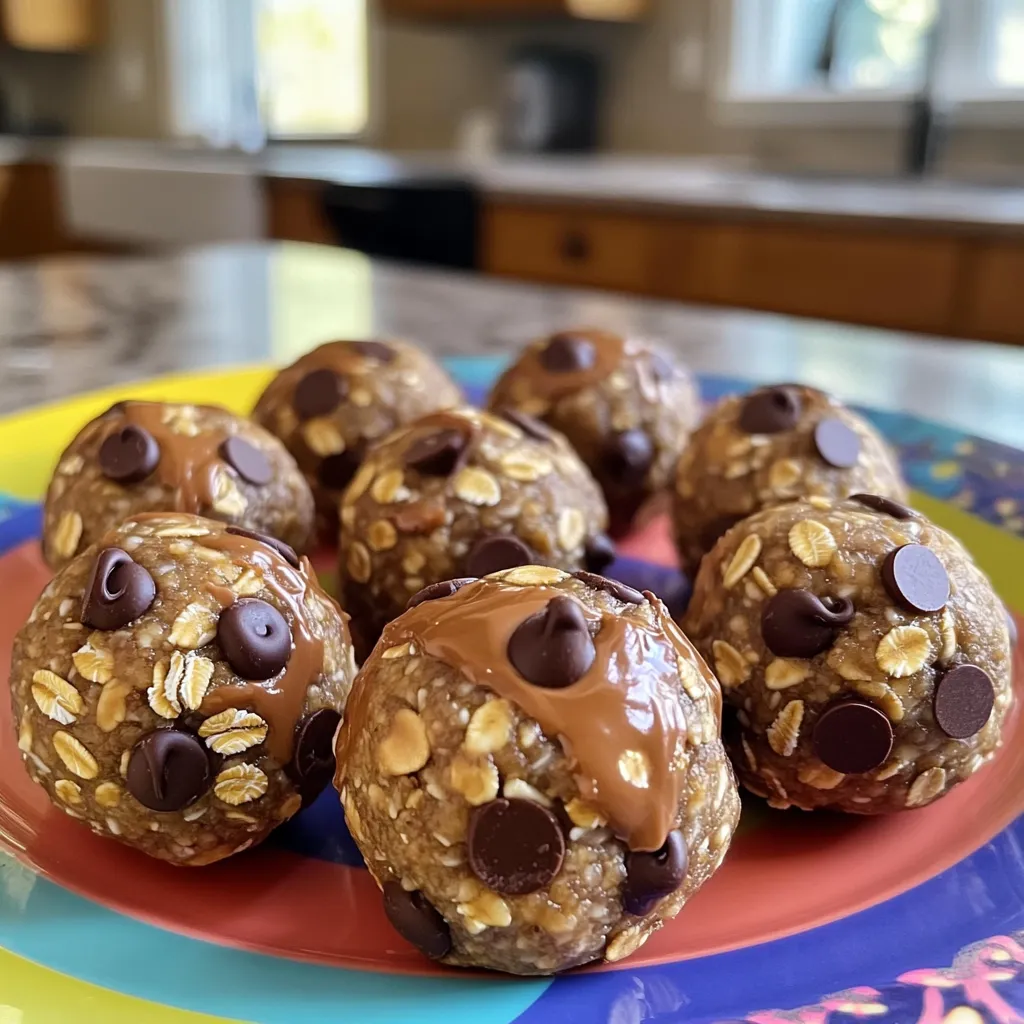
Presentation Tips for Serving
For a fun presentation, place the energy balls on a colorful plate. Scatter a few extra chocolate chips around them for a pop of color. You can also use mason jars to create a lovely gift. Layer the balls with ribbons for a charming look. This adds a special touch and makes them perfect for sharing.
Variations
Nut-Free Alternatives
If you want a nut-free version, use sun butter or soy nut butter. These options work well. They have a nice flavor and still give a great texture. You can also try pumpkin seed butter for a fun twist.
Adding Superfoods (Chia Seeds, Flaxseeds)
Superfoods can boost the health of your energy balls. Add 1-2 tablespoons of chia seeds or ground flaxseeds. Both options add fiber and omega-3 fatty acids. They also give a nice crunch without changing the taste much.
Flavor Variations (Mint, Coconut)
Mixing in different flavors can make your energy balls exciting. Try adding mint extract for a fresh twist. You can also fold in shredded coconut for a tropical vibe. Both add flavor and a fun texture.
Adjusting Sweetness Level
You can control how sweet your energy balls are. If you like them sweeter, add more honey or maple syrup. Taste the mix before rolling the balls. This way, you can adjust the sweetness to fit your preferences perfectly.
Storage Info
Best Storage Practices
To keep your No Bake Peanut Butter Cup Energy Balls fresh, store them in an airtight container. This method keeps them moist and tasty. You can use a glass jar or a plastic container. Make sure the lid seals tightly to avoid air getting in.
Freezing Energy Balls for Long-Term Use
If you want to save some for later, freezing is a great option. Place the energy balls in a single layer on a baking sheet. Once they are frozen, transfer them to a freezer-safe bag. This way, they won’t stick together. You can take out a few whenever you like. Just let them thaw for a few minutes before eating.
How Long Do They Last in the Fridge?
In the fridge, these energy balls last about one week. Keep them in the airtight container to ensure they stay fresh. If you notice any changes in smell or texture, it’s best to toss them. Always check before eating!
FAQs
Can I use natural sweeteners instead of honey or maple syrup?
Yes, you can use natural sweeteners like agave syrup or date syrup. These work well and keep the energy balls sweet. Just remember that these sweeteners may change the taste a bit.
How many energy balls can I make with this recipe?
This recipe makes about 12 to 15 energy balls. The exact number depends on how big you roll them. If you want more, just double the recipe!
Do I need to use a specific type of peanut butter?
No, you can use any type of peanut butter you like. Smooth or crunchy, it’s your choice! Just make sure it’s natural and free from added sugars. This keeps the energy balls healthy and tasty.
Can I add protein powder to the energy balls?
Yes, adding protein powder is a great idea! It boosts the protein content. Just mix in about 1 to 2 tablespoons with the dry ingredients. This makes the energy balls even more filling.
Are these energy balls kid-friendly?
Definitely! Kids love the taste and texture of these energy balls. They are a great snack for school or after playtime. Plus, they are healthy and easy to eat.
What is the nutritional information per serving?
Each energy ball has about 100 calories. They contain healthy fats, fiber, and protein. Here’s a quick breakdown per ball:
– Calories: 100
– Protein: 3g
– Fat: 5g
– Carbohydrates: 12g
– Fiber: 2g
These are just estimates and can vary based on the ingredients you choose.
You now know how to make tasty energy balls. We covered the key ingredients, including oats, peanut butter, and sweeteners. I shared steps to mix and shape your snacks perfectly. You learned tips for texture and fun variations. Storing your energy balls helps keep them fresh longer.
These treats are easy to personalize and great for everyone. Enjoy making them and discover your favorite flavors!