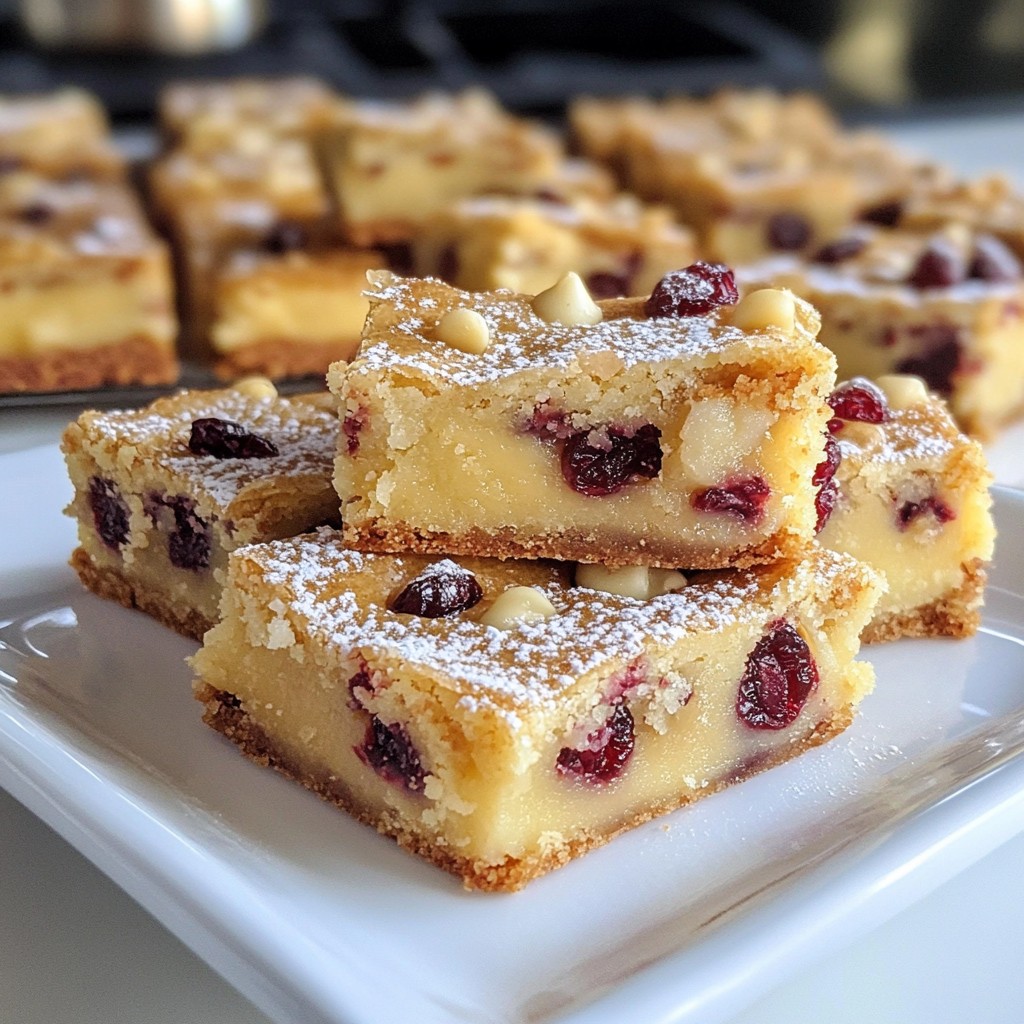
Are you ready to make a dessert that stirs joy in every bite? Lemon Cheesecake Mousse is a perfect treat. It’s creamy, refreshing, and easy to whip up. Whether you have a special event or just want to indulge, this mousse will impress. I’ll guide you through the simple steps, share my best tips, and help you master this delightful recipe. Let’s dive in and make something delicious!
Why I Love This Recipe
- Refreshing Flavor: The bright and zesty lemon flavor makes this mousse a perfect light dessert for any occasion.
- Easy to Make: With simple ingredients and straightforward steps, you can whip this up in no time, even as a beginner.
- Perfectly Creamy Texture: The combination of cream cheese and whipped cream creates a luscious, airy texture that melts in your mouth.
- Beautiful Presentation: Topping with fresh berries and lemon slices not only adds flavor but also makes for an eye-catching dessert.
Ingredients
List of Essential Ingredients
For this lemon cheesecake mousse, you need:
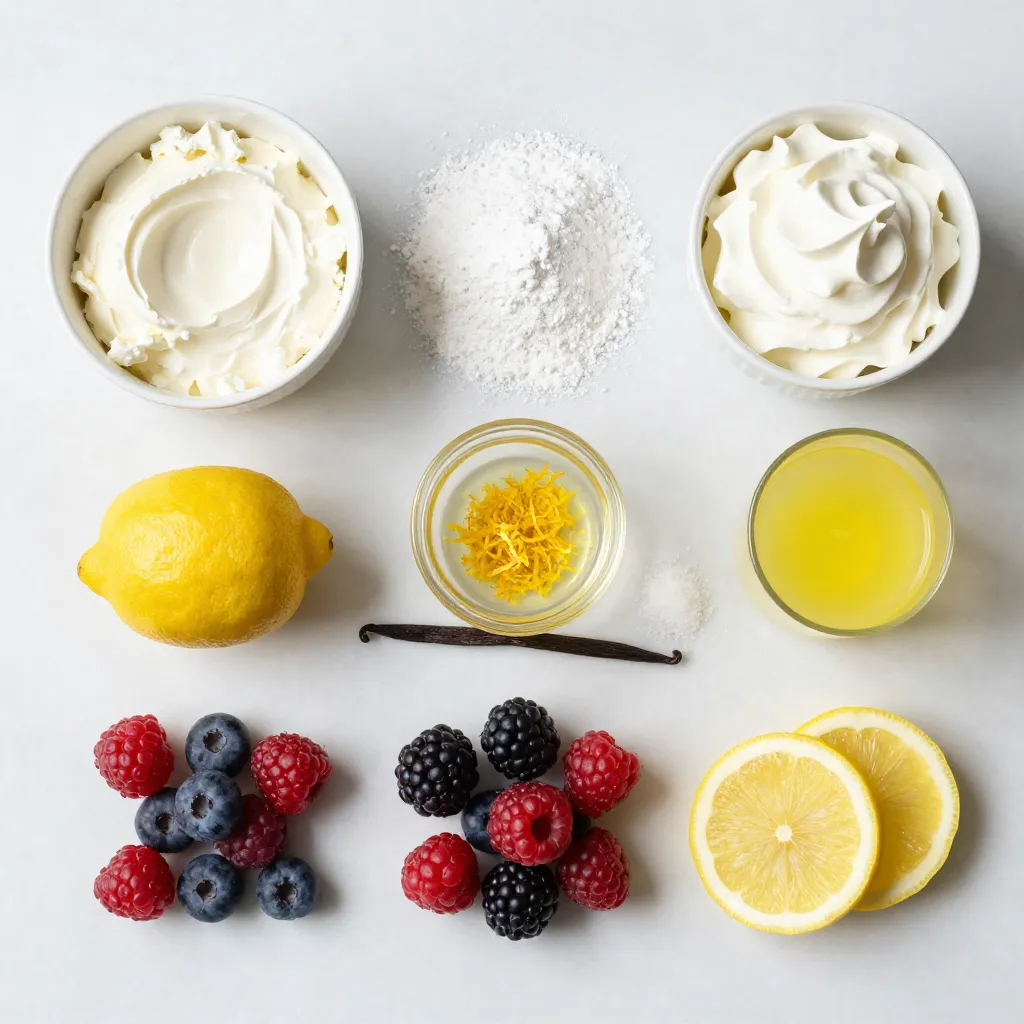
– 8 oz cream cheese, softened to room temperature
– 1 cup powdered sugar
– 1 cup heavy whipping cream
– 1/2 cup freshly squeezed lemon juice (about 2-3 lemons)
– Zest of 1 lemon (avoid the white pith for a brighter flavor)
– 1 teaspoon pure vanilla extract
– A pinch of fine salt
These ingredients work together to create a creamy texture and bright flavor.
Optional Garnishes
You can make your mousse even prettier and tastier by adding:
– Fresh berries (like raspberries, blueberries, or strawberries)
– Thin lemon slices
These garnishes add color and a nice pop of flavor.
Ingredient Substitutions
If you need to change some ingredients, here are some options:
– Use Neufchâtel cheese instead of cream cheese for a lighter option.
– Swap heavy whipping cream for coconut cream for a dairy-free version.
– Replace lemon juice with lime juice for a different citrus flavor.
These swaps still keep the mousse delicious while fitting your needs.
Step-by-Step Instructions
Detailed Preparation Steps
To start, gather your ingredients. You need cream cheese, powdered sugar, heavy cream, lemon juice, lemon zest, vanilla extract, and a pinch of salt. Begin by softening the cream cheese. This makes it easier to mix. In a large bowl, beat the cream cheese with an electric mixer for about 2-3 minutes. It should be smooth and creamy.
Next, add the powdered sugar slowly. Keep mixing until it is fully blended. You want a lump-free mix here. Now, pour in the lemon juice, zest, vanilla, and salt. Mix it all on low speed. This should take about a minute. You want a fluffy mixture.
In another bowl, pour the heavy cream. Whip it on high speed until soft peaks form. Keep a close eye on it. You don’t want to overbeat it. Once ready, take a large spatula and gently fold the whipped cream into the lemon mixture. Combine until no white streaks remain. This step is key to keeping it light and airy.
Quick Tips During Mixing
– Use room temperature cream cheese. It blends better and avoids lumps.
– Gradually add the sugar while mixing. This helps it dissolve fully.
– When folding in the whipped cream, use gentle strokes. This keeps the mousse fluffy.
– Don’t skip the lemon zest! It adds a bright flavor that makes the mousse pop.
Cooling and Setting the Mousse
After mixing, it’s time to spoon the mousse into serving cups. Leave a little space at the top if you want to add berries later. Cover the cups with plastic wrap. Place them in the fridge for at least 2 hours. This allows the mousse to set properly. The longer it chills, the better the flavors blend.
Before serving, top each mousse with fresh berries and a lemon slice. This adds color and freshness that looks great on the plate. Enjoy your creamy and refreshing lemon cheesecake mousse!
Tips & Tricks
Best Practices for Cream Cheese
Use room temperature cream cheese. This helps it blend smoothly. If it’s cold, your mousse may have lumps. To soften, cut it into small pieces and let it sit for 30 minutes. You can also microwave it for 10 seconds. Just be careful not to melt it.
Whipping Cream Tips
When whipping cream, use a cold bowl and beaters. This keeps the cream cold, which helps it whip better. Start on low speed to avoid splatter. Once it thickens, increase to high speed. Stop when soft peaks form. Overwhipping can turn cream into butter, which we don’t want.
Avoiding Common Mistakes
Don’t rush mixing the cream cheese and sugar. Take your time for a smooth mix. When folding whipped cream into the cheese mixture, be gentle. Use a spatula to fold, not stir. This keeps the mousse airy. Also, make sure to chill the mousse. It needs at least two hours to set.
Pro Tips
- Use Room Temperature Cream Cheese: This ensures a smooth and creamy texture for your mousse without any lumps.
- Fresh Lemon Juice is Key: Always opt for freshly squeezed lemon juice for the best flavor; bottled juice can taste artificial.
- Don’t Overbeat the Cream: Whip the heavy cream until soft peaks form to maintain a light and airy mousse.
- Chill Before Serving: Allowing the mousse to set in the refrigerator for at least 2 hours enhances the flavors and texture.
Variations
Different Citrus Options
While lemon shines in this cheesecake mousse, other citrus fruits can work wonders too. You can try using lime juice for a zesty twist. Orange juice adds a sweet note. Grapefruit juice can lend a unique flavor. Each fruit brings its charm, making the mousse fun and fresh. Just remember to adjust the sugar if the fruit is sweeter or more sour.
Add-ins for Extra Flavor
Want to make your mousse even more exciting? Adding different flavors can elevate it. Try stirring in a bit of melted white chocolate for a creamy touch. Crushed graham crackers can give a nice crunch and classic cheesecake taste. You can also add a splash of your favorite liqueur, like limoncello, for a grown-up version. Fresh herbs like mint or basil can also add freshness and surprise.
Creative Serving Suggestions
Presentation matters, and there are many fun ways to serve this mousse. You can layer the mousse with fresh berries in clear cups for a colorful dessert. Try serving it in mini mason jars for a rustic look. You could also pipe the mousse into tart shells for a unique treat. Whatever you choose, add a slice of lemon or a few berries on top for a pop of color. These small touches make your dessert stand out.
Storage Information
How to Store Leftovers
To store leftovers, place the mousse in airtight containers. This keeps it fresh and tasty. You can also cover the serving cups with plastic wrap. Make sure to refrigerate them right away. The mousse will stay good for up to three days in the fridge.
Freezing Tips
Freezing is not ideal for this mousse. The texture may change once thawed. If you must freeze it, use freezer-safe containers. Leave some space at the top for expansion. Thaw it in the fridge before serving.
Best Practices for Reheating (if applicable)
You do not need to reheat this mousse. It is best served cold. If it softens too much, just chill it again. Enjoy the fresh taste right from the fridge.
FAQs
What can I use instead of cream cheese?
If you need a cream cheese substitute, try Greek yogurt. It gives a nice tang. You can also use mascarpone cheese. It makes the mousse creamy and rich. For a dairy-free option, cashew cream works well. Just soak cashews, blend, and use. Each option will change the taste a bit, so pick what you like.
How long does Lemon Cheesecake Mousse last in the fridge?
Lemon Cheesecake Mousse stays fresh in the fridge for up to three days. Store it in an airtight container. This keeps it safe from other odors in the fridge. The flavors will meld and taste even better after a day.
Can I make this mousse a day in advance?
Yes, making this mousse a day ahead is a great idea! It gives the mousse time to set. Plus, the flavors will deepen overnight. Just cover it well and store in the fridge. This way, you can relax and enjoy when it’s time to serve.
You now have all the key steps to make delicious lemon cheesecake mousse. We covered essential ingredients, prep steps, and handy tips. Remember to try different flavors and store leftovers well. This dessert is simple yet impressive, perfect for any occasion. With these guidelines, you can avoid mistakes and create a delightful treat each time. Enjoy your cooking adventure and impress your friends and family with this tasty mouss